
What Is The Best Gluten Free Flour? Different Types of Gluten Free Flour
What Is The Best Gluten Free Flour?
Different Types of Gluten Free Flour
Not too long ago, gluten-free baking was a mystery if not a little scary. With so many options of gluten-free flours now, it can feel a little overwhelming at first, but it doesn’t have to be! Gluten-free baking is not only easily accessible now, it’s also super easy to swap all of your old favorites for healthy, gluten-free choices.
Different Types of Gluten-Free Flour
Almond flour is perhaps the most popular gluten-free alternative flour since it has such a wide range of benefits. Besides being a low-carb solution, almond flour also contains iron, magnesium, calcium, potassium, and more. It’s important to note however that almond flour is high in fat and on average has about 640 calories per cup.
With its neutral, nutty flavor, almond flour can be used in a variety of dishes and treats - both savory and salty!
Buckwheat flour is an earthy, rich alternative to flour. While it may have the word ‘wheat’ in the title, it’s actually a pseudograin, making it naturally gluten-free. Buckwheat flour is especially helpful in making quick or yeasty baked goods, but because it lacks gluten naturally, it can be helpful to mix with a lighter gluten-free flour like rice flour.
Buckwheat flour is high in antioxidants, iron, folate, magnesium, zinc, and is an excellent source of fiber. (No, really. I suggest a buckwheat waffle to anyone who struggles with having consistent bowel movements.)
Rice flour usually comes in two forms - brown rice and white rice flour. Brown rice flour is considered a whole-grain flour because it contains the entire bran, germ, and endosperm. With its neutral, slightly nutty flavor, rice flour is best in cooking and mixing in with a denser flour for the best desserts and breads.
Naturally high in protein, rice flour can help balance low blood sugar and keep you satiated longer. It’s important to keep an eye out on packaging since some rice flours are processed alongside traditional flour and other gluten products.
Cassava flour is a starchy root vegetable native to South America, also known as yuca. This flour is naturally gluten, grain, and nut free. It’s texture offers the greatest similarity to traditional white flour without all the consequences. Since it’s easily digestible and has a lower calorie count than almond or coconut flours, it’s an excellent choice for anyone who suffers from more than one food allergy.
Oat flour is the result of grinding whole-grain oats into a flour texture. Oat flour is extremely helpful in making your baked goods taste more moist, light, and fluffy. Rich in nutrients such as magnesium, phosphorus, B-vitamins, and protein, oat flour is an excellent addition to any gluten-free pantry!
Coconut flour is one of the most traditional gluten-free flours and is made from dried coconut meat. Beware - if you do not like the taste of coconut, it’ll be hard to cover up. Highly absorbent, coconut flour absorbs more liquid than traditional or almond flour, but most recipes account for that.
Some research suggests that coconut flour’s fiber content can help keep blood sugar healthy, avoiding unhealthy spikes throughout the day. Coconut flour is also a great choice for anyone with a nut or gluten allergy because it can be used in so many different ways.
Now, when you google gluten-free flours, the first products that might pop up are 1-1 flours. These are the bags you’re most likely to see if you google ‘gluten-free flours.’ These flours act as simple substitutes when recipes call for regular flour, but not all are created equal. Most grocery stores have some version of a 1-1 gluten-free flour, but ingredients matter A LOT.
You’ll most likely find ingredients like cornstarch, rice flour, tapioca flour, and potato starch in most of your gluten-free 1-1 substitute flours. More popular 1-1 flours usually have rice flour, both brown and white, as the main ingredient. While you may get a denser version of your favorite baked treat, it won’t be any less delicious.
Best Gluten-Free Flours
Cup4Cup Multipurpose Gluten-Free Flour
This flour offers a light texture to most baking like pancakes and muffins, but for those with a dairy intolerance, this may not be the flour for you as it contains milk powder.
King Arthur Gluten Free Measure for Measure Flour
This flour offers a completely gluten and dairy-free option for those who are looking for easy substitutes in their baking. Being my personal favorite go-to, this flour yields the best results of any gluten-free flour I’ve tried.
Bob’s Red Mill Almond Meal Flour
One of the best things about this brand is that it offers different sizes of almond flour which is incredibly helpful if you’re baking for a bigger family or just for one. The blanched almond meal has a real nice, almost cake flour like fluffiness and really packs a punch in baking.
Anthony’s Organic Buckwheat Flour
Anthony’s Goods might be my favorite source for all kinds of alternative flours, chia seeds, and basically every pantry staple. They offer a really good bang for your buck, and every time I order from them, everything is really fresh and up to their high standards and guarantees.
Amazing Gluten-Free Recipes
Chocolate Chip Cookies
- 1.5 cups almond flour
- 3/4 cups buckwheat flour
- 1/4 cup tapioca starch
- Pinch of salt
- 3/4 tsp baking powder
- 1 block of chocolate broken up (I prefer to cut a chocolate bar and get big chunks of chocolate, but if you’d rather use chocolate chips, substitute for 1 cup)
- 2 tbsp coconut sugar
- 2 tbsp coconut oil (melted)
- 1 tbsp honey
- 1 tbsp malt syrup (If you don’t have/like malt syrup, you can just add an additional tablespoon of honey or substitute for maple syrup instead)
- 1 egg
- 1 splash of milk of choice (almond milk has a nice, nutty flavor)
- 1 teaspoon of vanilla extract
- Optional: ½ cup of walnuts, almonds, or other nut of choice
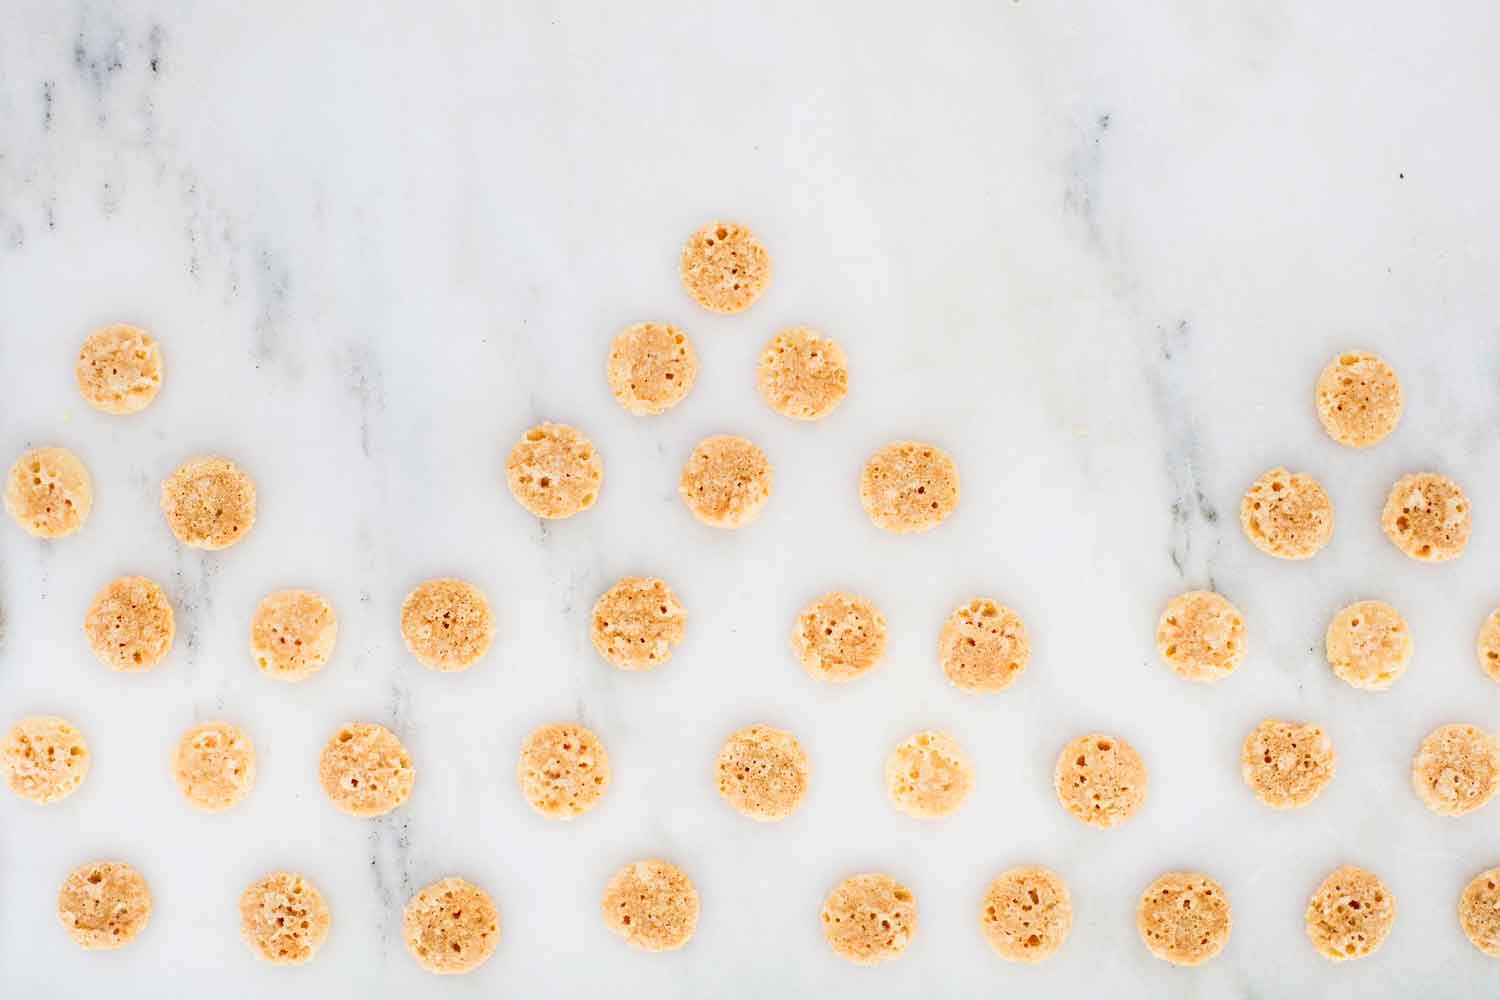
Combine wet and dry ingredients separately before stirring in dry ingredients. With slightly damp hands, use a tablespoon to round out cookies in your hands placing them at least two inches apart on a cookie sheet. Flatten the cookies slightly with your fingers as they won’t expand too much on their own.
Bake at 350 for 10-15 minutes, let cool, and enjoy!
Buckwheat Waffles
- 1 cup buckwheat flour
- 1 tablespoon sugar (I used coconut sugar)
- 1 ¼ teaspoons baking powder
- 1 teaspoon baking soda
- ¼ teaspoon salt
- ¼ teaspoon cinnamon
- 1 ¼ cups buttermilk, shaken (see notes to learn how to make your own with any kind of milk)
- ¼ cup (4 tablespoons) melted butter or coconut oil
- 1 large egg
Preheat your waffle iron. If desired, preheat the oven to 200 degrees Fahrenheit to keep waffles warm until you’re ready to serve. In a medium-sized mixing bowl, whisk together the buckwheat flour, sugar, baking powder, baking soda, salt and cinnamon.
In a liquid measuring cup or another bowl, whisk together the buttermilk, melted butter and egg. Pour the wet mixture into the dry mixture and stir them together until there are only a few small lumps remaining. Give it a few more stirs if you see any liquid that hasn’t fully incorporated. Commenter Monisha says her waffles turn out lighter and more crispy if she lets the batter rest for 5 to 10 minutes, so you might want to give that a try.
Pour batter onto the hot waffle iron plates, close the waffle iron and cook until the waffles are barely letting off steam and they are lightly crisp to the touch (this might take longer than your waffle iron suggests). Carefully lift waffle out of the waffle iron and serve immediately or place in the oven to keep warm. Avoid stacking the waffles or they will lose their crispness.
HOW TO MAKE YOUR OWN BUTTERMILK: Measure 1 tablespoon + ¾ teaspoon vinegar into a 2-cup capacity liquid measuring cup. Pour in any variety of milk until you reach the 1 and ¼ cups line (regular cow’s milk, almond, soy, oat, rice, low-fat coconut milk should all work). Let the “buttermilk” rest for 5 minutes before using.
Recipe courtesy of CookieandKate